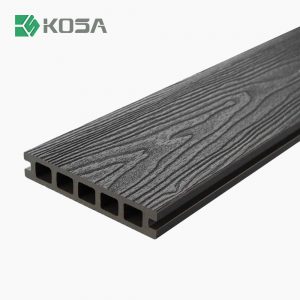
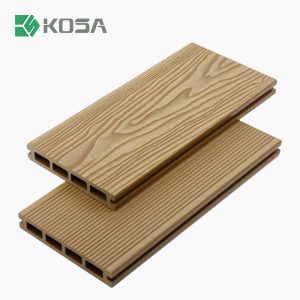
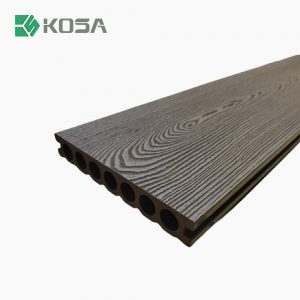
Fitting external WPC (Wood Plastic Composite) cladding requires careful planning, appropriate tools, and adherence to manufacturer guidelines. Here’s a step-by-step guide to help you install WPC cladding effectively:
Tools and Materials Required:
-
Tools:
– Drill and screwdriver
– Level
– Measuring tape
– Saw (circular or miter)
– Spirit level
– Rubber mallet
– Chalk line
-
Materials:
– WPC cladding panels
– Starter trims and corner trims
– Fasteners (screws/clips)
– Subframe materials (WPC, aluminum or treated wood battens)
– Weatherproof membrane
Step-by-Step Installation Guide:
-
Prepare the Surface:
– Clean the wall: Remove any debris, dirt, or protrusions from the surface where the cladding will be installed.
– Check for flatness: The wall must be flat to ensure the cladding aligns properly. If it’s uneven, use battens to create a flat sub-frame.
– Apply a weatherproof membrane: Install a breathable waterproof membrane over the wall to protect the structure from moisture.
-
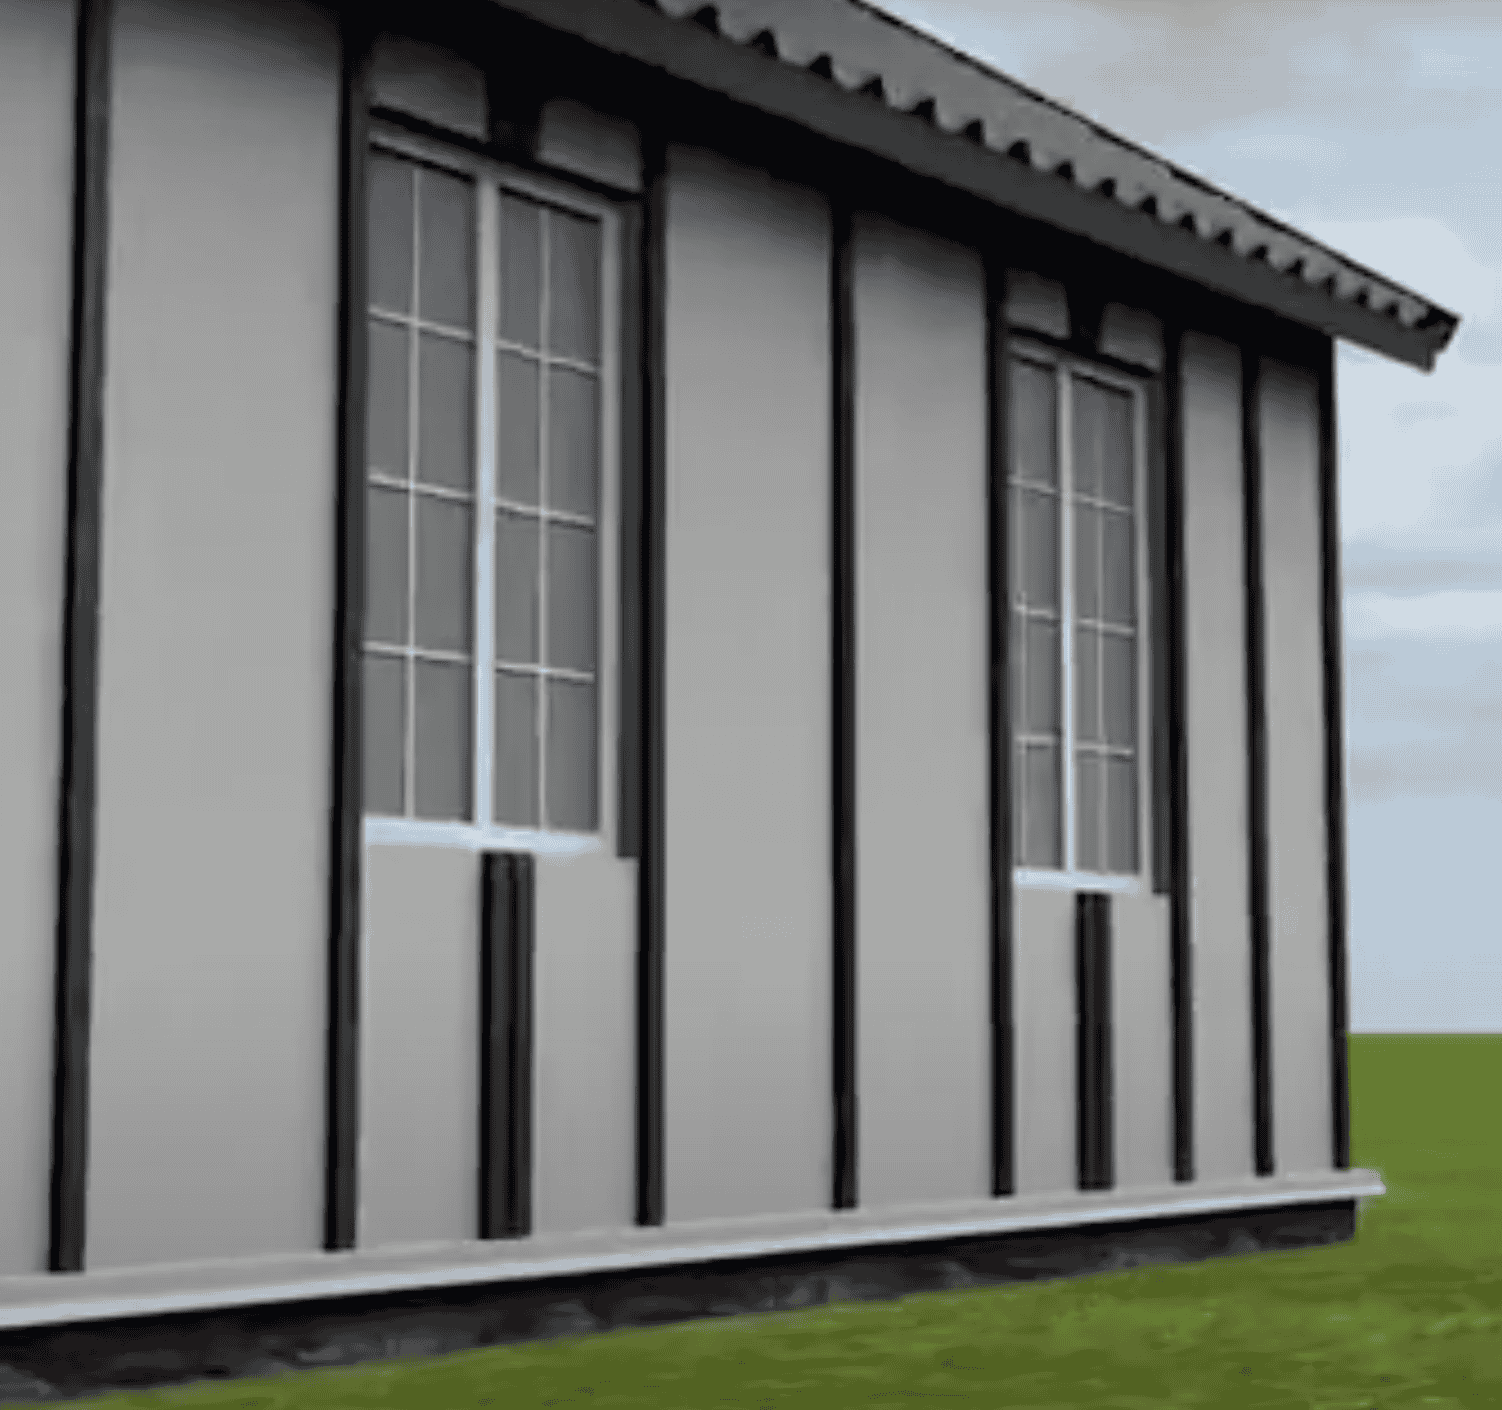
Install the Subframe:
– Use WPC joist, or treated wood battens or aluminum profiles to create a sub-frame. Ensure the sub-frame:
– Has a vertical orientation for horizontal cladding installation, or horizontal orientation for vertical cladding.
– Provides a gap of approximately 30-40cm between battens (depending on manufacturer guidelines).
– Allows for adequate ventilation behind the cladding to prevent moisture buildup.
– Fix the battens securely to the wall using appropriate screws or anchors.
-
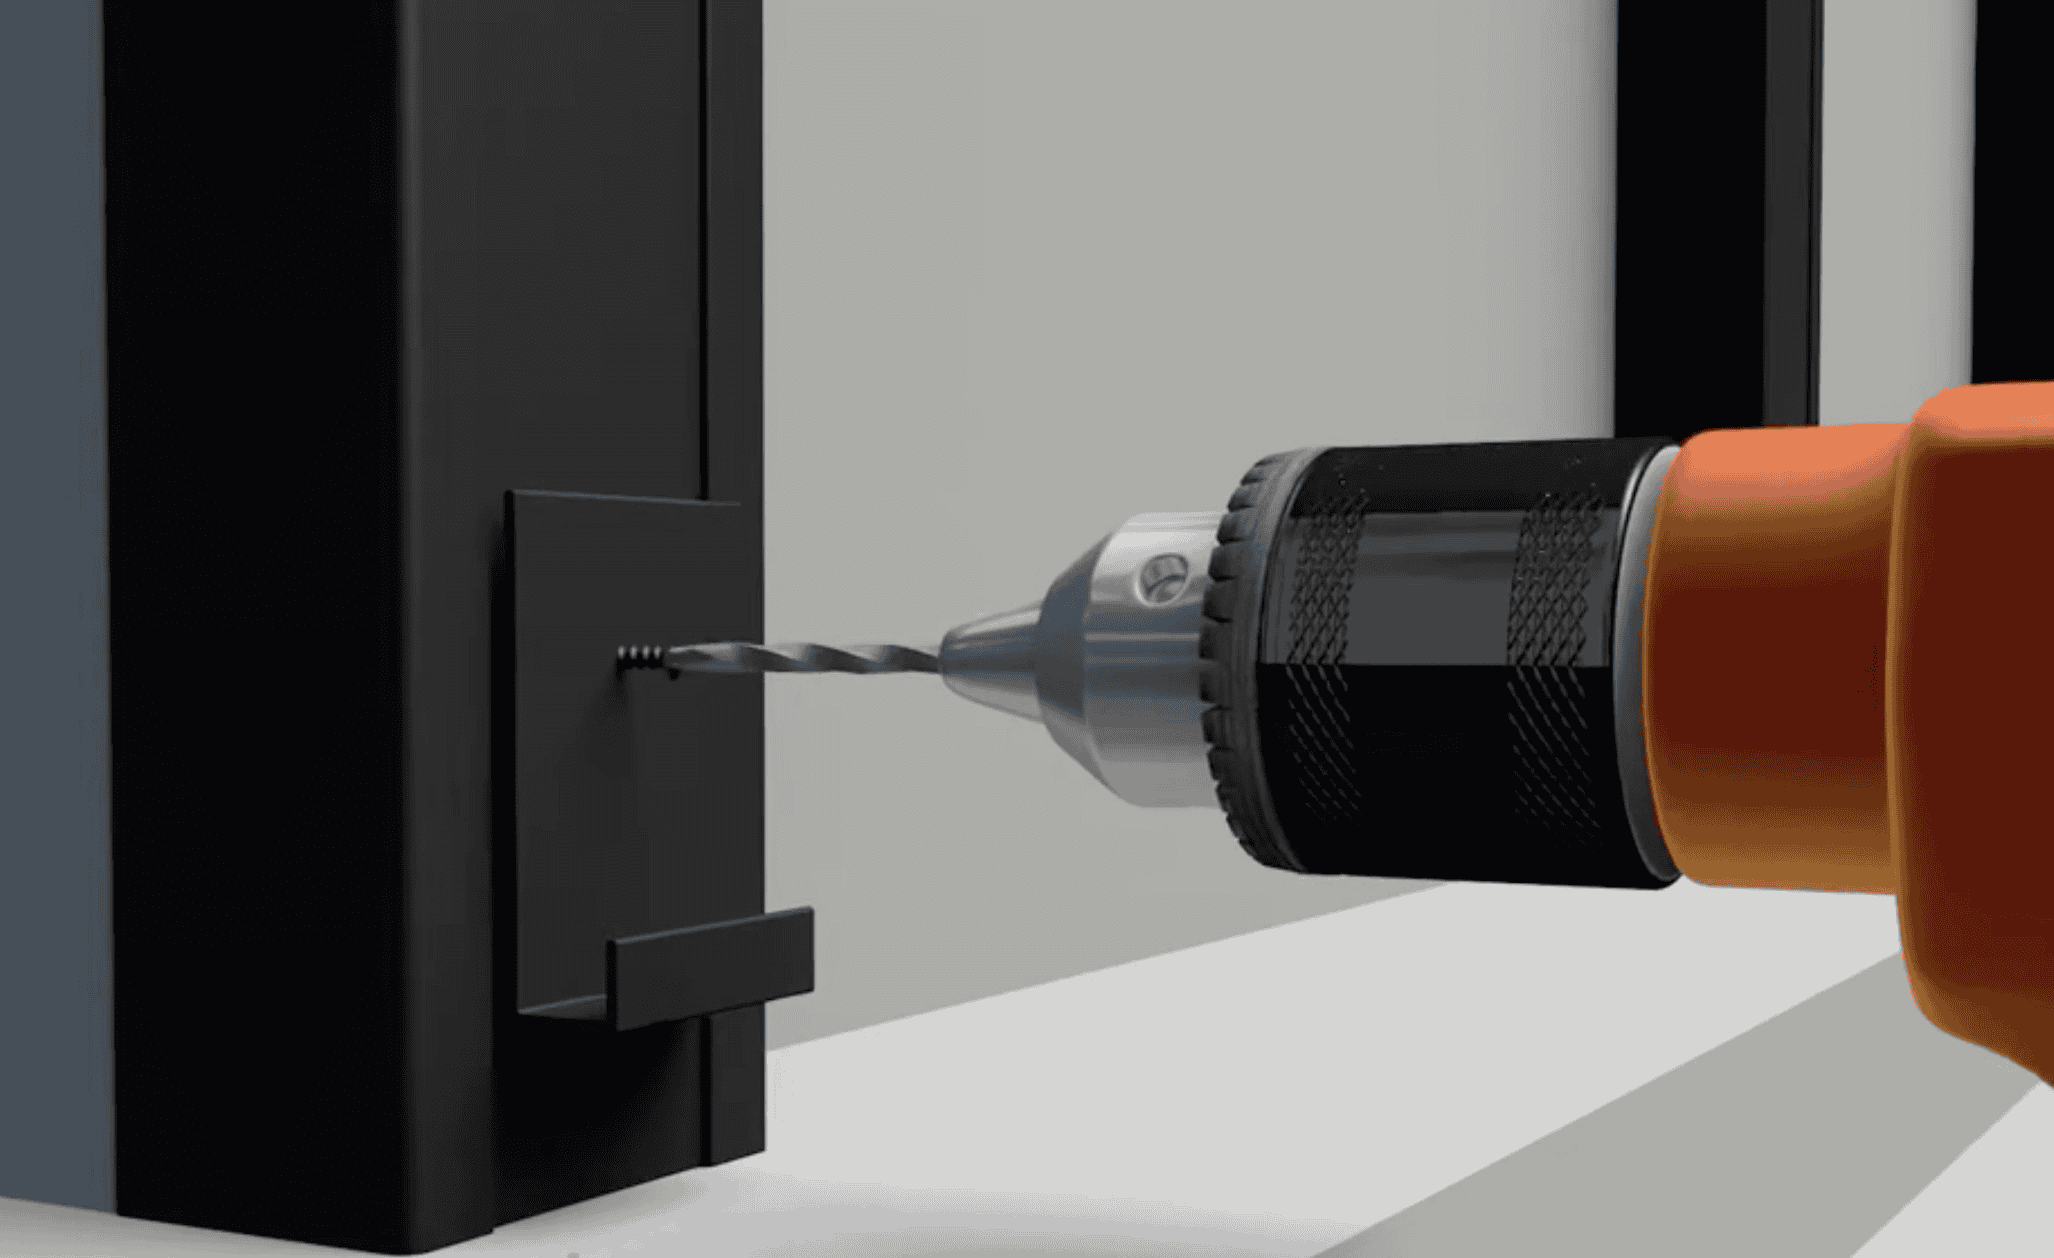
Attach Starter clips:
– Install a starter clips or base rail at the bottom of the wall to secure the first cladding panel.
– Ensure it is level, as this will determine the alignment of all subsequent panels.
-
Install WPC Cladding Panels:
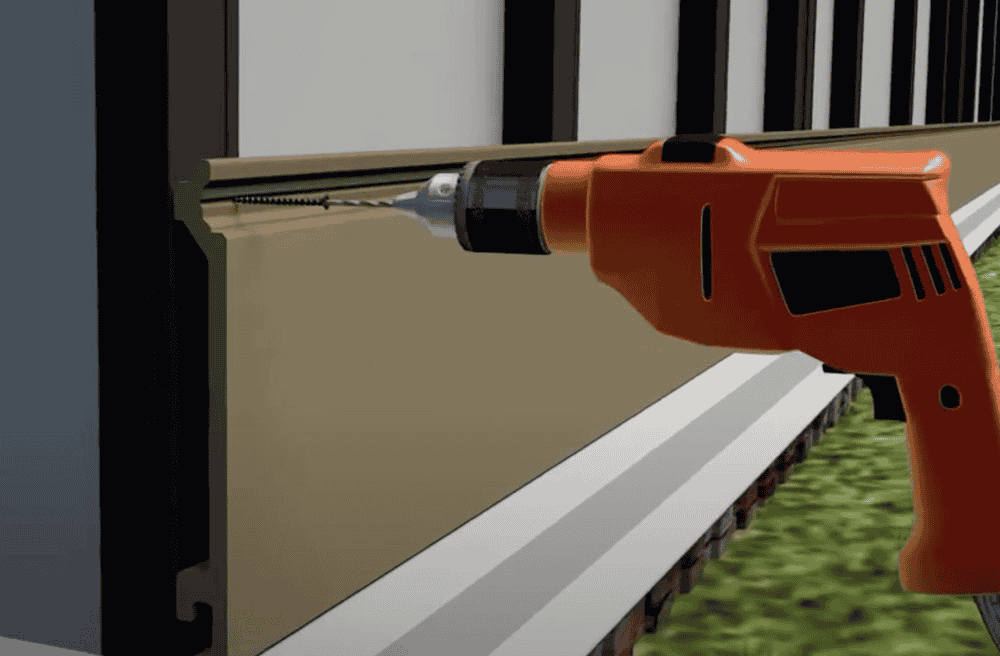
– Start with the bottom panel:
– Insert the first panel into the starter trim, ensuring it is securely seated.
– Use hidden fasteners or screws through pre-drilled holes, as per the manufacturer’s instructions.
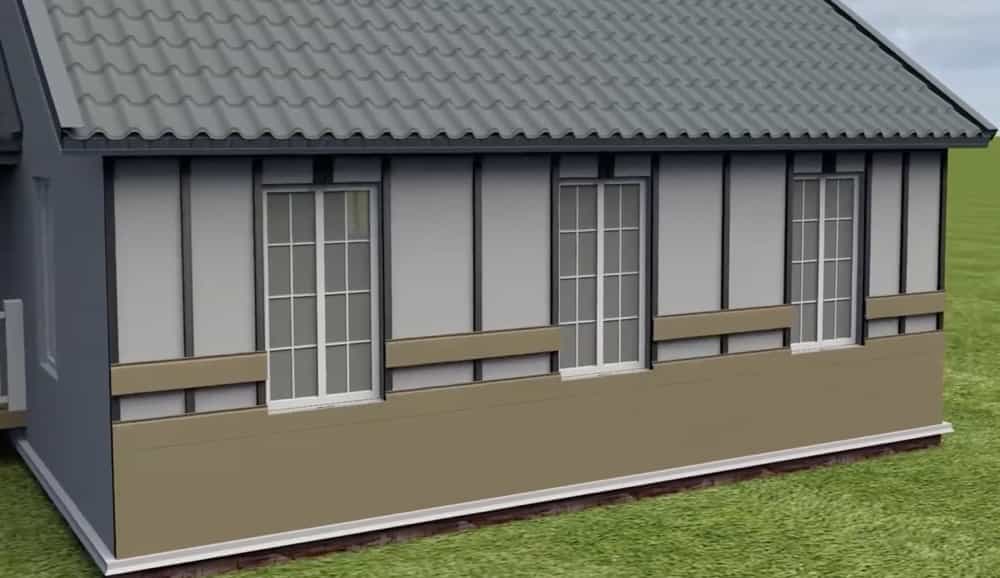
– Add subsequent panels:
– Align the next panel above the previous one, locking them into place using the interlocking grooves (if applicable).
– Fix each panel to the sub-frame using screws.
– Check alignment frequently:
– Use a spirit level to ensure the panels remain straight as you work your way up the wall.
-
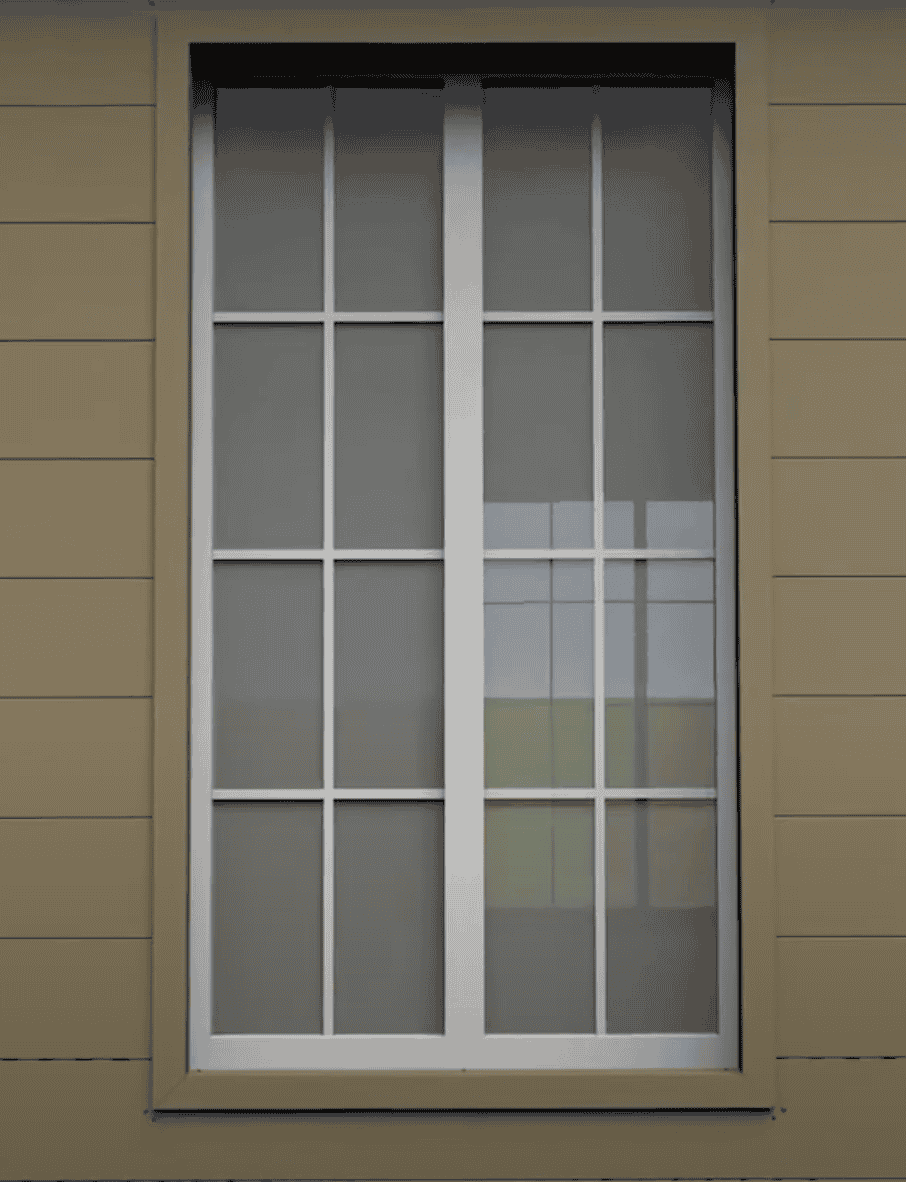
Install Trims and Edges:
– Use corner trims, edge trims to finish edges and corners neatly.
– Secure trims using screws or adhesives as recommended.
-
Allow for Expansion and Contraction:
– Leave small gaps (2-9 mm) between panels and trims to account for thermal expansion and contraction of the WPC material.
-
Final Inspection:
– Double-check the alignment and ensure all panels are securely fixed.
– Wipe down the cladding to remove dust or fingerprints.
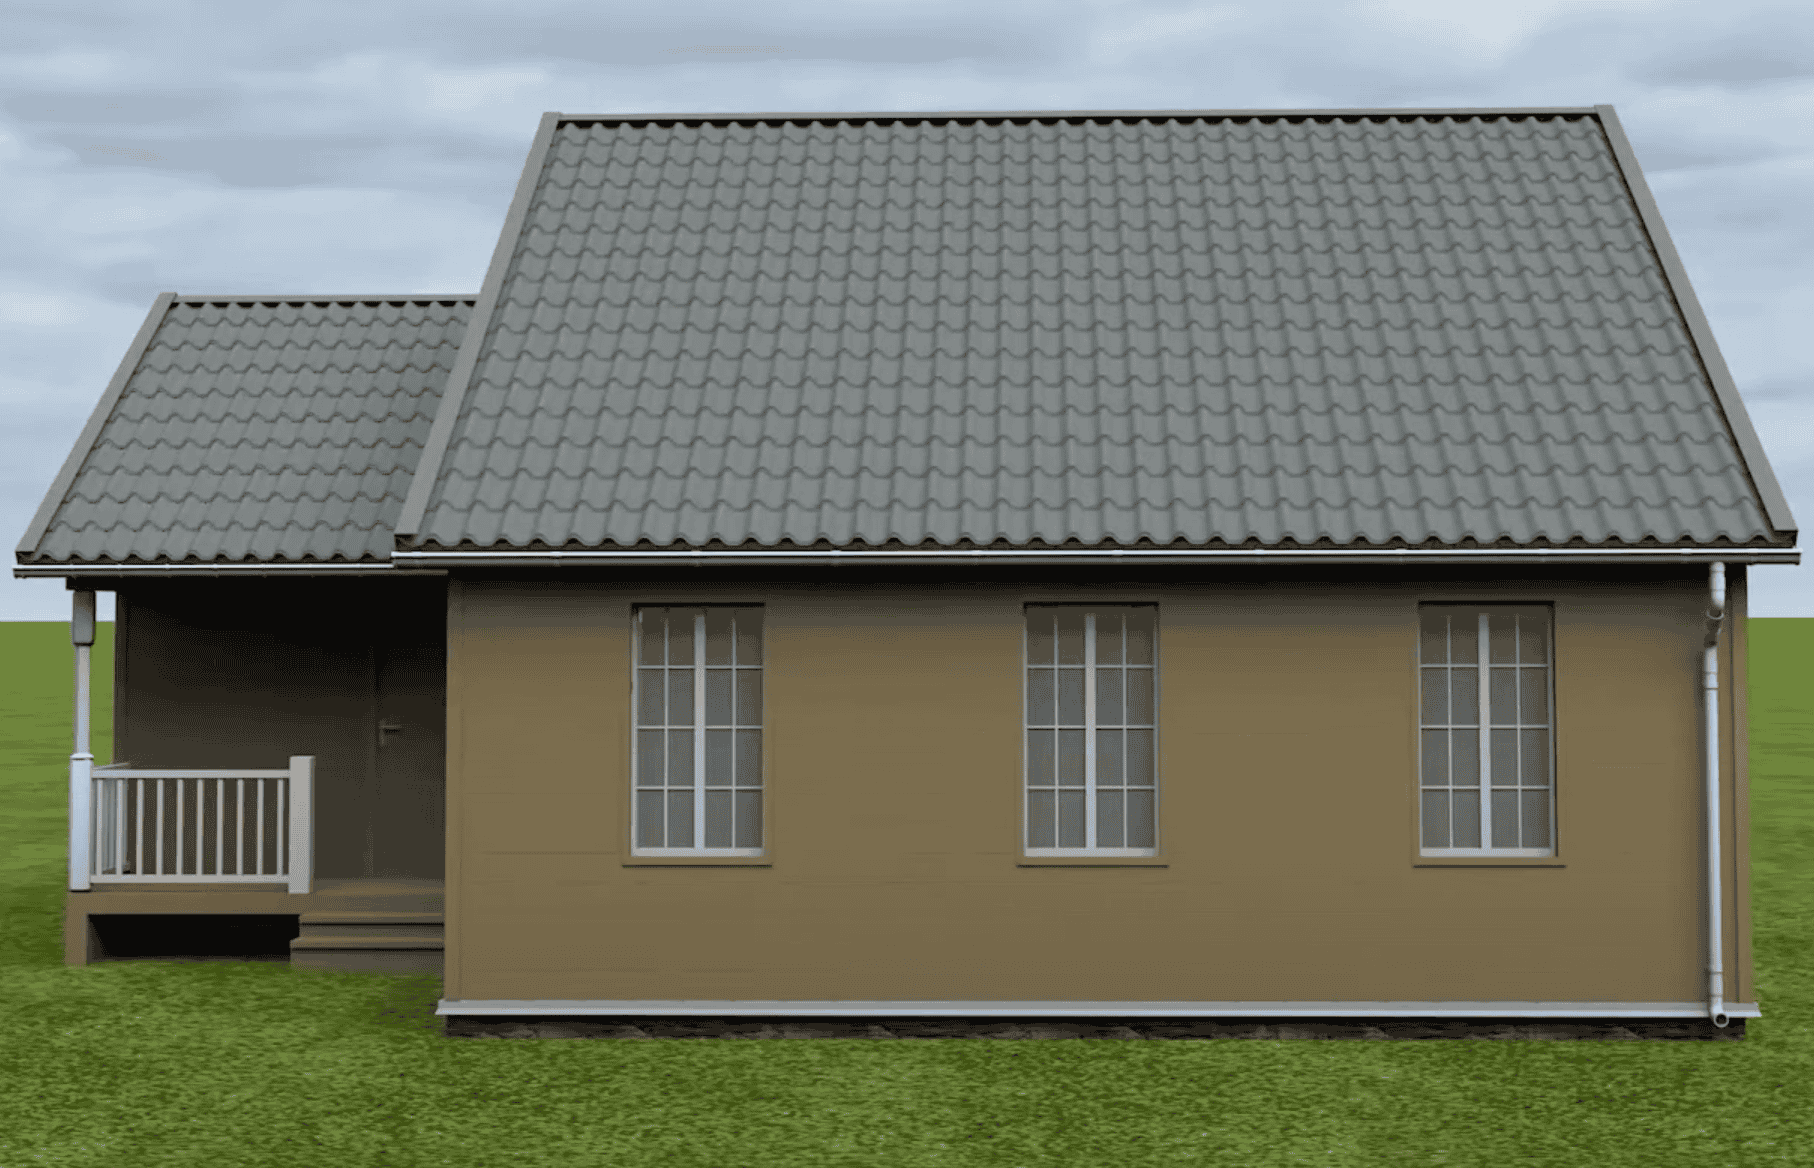
Tips for a Professional Finish:
– Follow manufacturer instructions: Each WPC product may have specific installation requirements.
– Plan for drainage: Ensure water can run off freely to avoid pooling behind the cladding.
– Work methodically: Take your time to measure and cut panels precisely to avoid mistakes.
– Safety first: Wear appropriate protective gear when cutting or drilling.
With proper installation, WPC cladding will provides a durable, weather-resistant, and attractive finish to your building.

