Installing WPC decking can make your outdoor space more beautiful and durable with low maintenance. WPC (Wood Plastic Composite) decking is known for its resistance to weather, moisture and insects, and here is a step-by-step guide to help you install WPC decking like a professional.
Tools and Materials You’ll Need:
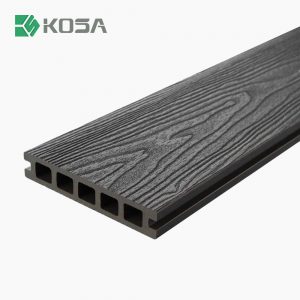
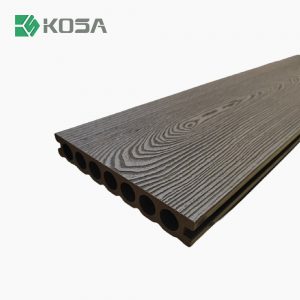
– WPC decking boards
– Decking joists (WPC, metal or treated wood)
– Hidden fasteners or clips
– Screws and drill
– Measuring tape
– Chalk line or string
– Spacers
– Spirit level
– Rubber mallet
– Saw (circular or miter)
Step 1: Prepare the Area
Before you start, make sure the area where you will install the decking is clean, level, and free of debris.
- Clear the ground: Remove grass, rocks, and any debris that might interfere with installation.
- Check for drainage: Ensure the surface has proper drainage to prevent water pooling under the deck. If necessary, create a slight slope (about 2% grade) to direct water away from the house or structure.
- Install weed control fabric: If you’re installing over dirt or soil, consider laying down a weed barrier fabric to prevent vegetation growth under the deck.
Step 2: Set Up the Frame
The decking structure will rest on a frame made of joists, which should be sturdy and level.
- Measure and mark the layout: Use a measuring tape and chalk line to outline the deck area, marking where the joists will go.
- Install the joists: Space the joists evenly (typically 12-16 inches apart, or 30-40cm) and fix them to the ground or existing substructure. If you’re installing the decking over concrete or a patio, ensure the joists are secured with anchors.
- Check for level: Use a spirit level to ensure the joists are perfectly level. Any unevenness can cause issues during installation.
Step 3: Lay the First WPC Decking Board
Once the frame is ready, it’s time to start installing the WPC decking boards.
- Start at one edge: Begin laying the boards along one edge of the frame, leaving a small gap (about 3cm-5cm) between the wall or structure for expansion.
- Secure the first board: Fix the first board in place using starter clips or screws. The first board needs to be fixed tightly to prevent any movement.
- Use spacers: Ensure that the joints between the two decking boards are properly spaced to maintain an even gap (usually 5-8mm) between each board to allow for expansion and drainage.
Step 4: Install the Remaining WPC Decking Boards
Now that the first board is secure, you can install the rest of the decking boards.
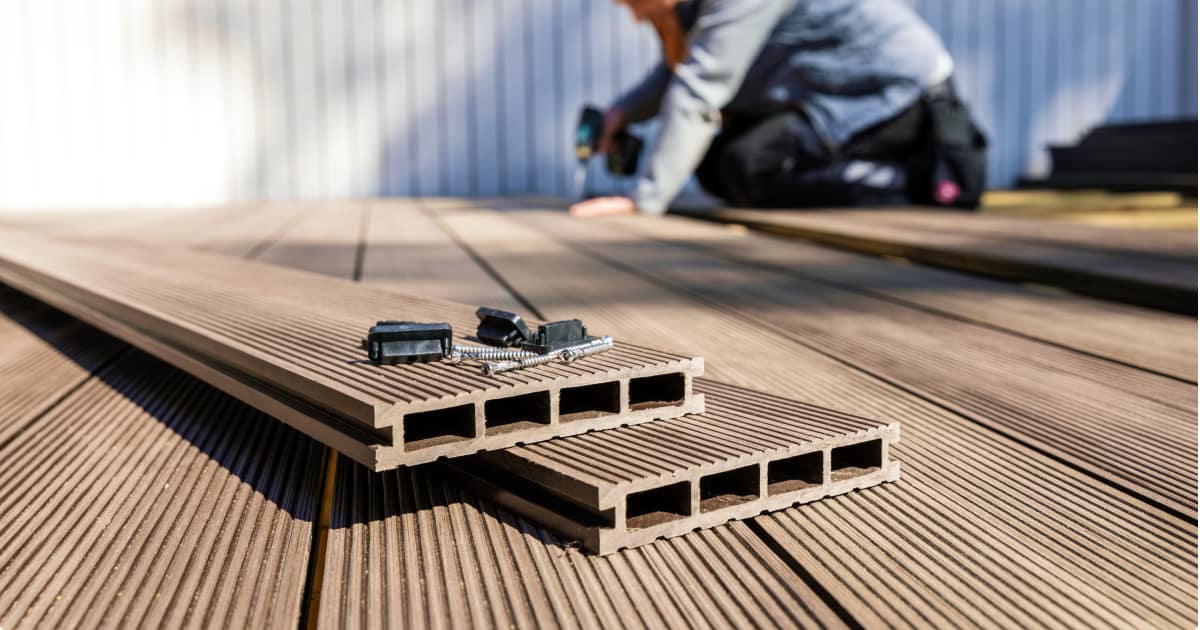
- Position hidden fasteners: Use hidden clips or fasteners to secure the boards to the joists. This will give your deck a clean, seamless look without visible screws.
- Place the next board: Slot the next WPC board into the hidden fasteners. Use a rubber mallet to gently tap the board into place, ensuring it sits securely on the fasteners.
- Continue the process: Repeat the process, laying down the boards and securing them with clips. Use spacers between each board to maintain consistent gaps for expansion and drainage.
Step 5: Cut the Final WPC Decking Boards to Size
As you approach the edges of your deck, you may need to cut the final boards to fit.
- Measure and mark: Measure the space where the final board will go and mark the WPC board accordingly.
- Cut the board: Use a circular or miter saw to cut the board to the desired length. Ensure the cut is clean and straight for a professional finish.
- Fix the final board: Secure the last board with screws or fasteners, just like the first board. Ensure it is tightly secured for a polished look.
Step 6: Add Finishing Touches
After all the decking boards are installed, finish off the edges of your deck for a neat and complete look.
- Install trim or fascia boards: To cover the edges of the decking, use WPC trim or fascia boards. These should be installed along the outer perimeter of the deck, providing a polished finish.
- Check for alignment: Ensure all the boards are aligned evenly and that the gaps are consistent throughout the deck.
- Clean the deck: Once installation is complete, clean the deck surface with a soft broom or a cloth to remove any debris or dust from the installation process.
Step 7: Inspect and Enjoy Your Deck
Before you consider the project complete, give your deck a final inspection.
- Check stability: Walk around the deck and check that all boards are securely fastened and the deck feels stable underfoot.
- Ensure even spacing: Confirm that all the expansion gaps are uniform to allow for natural movement with temperature changes.
- Admire your work: With the installation complete, your new WPC deck is ready for use! It’s time to enjoy the beauty, durability, and low-maintenance benefits of your new outdoor space.
Maintenance Tips
While WPC decking is low-maintenance, here are a few tips to keep it looking great:
– Clean the deck with soap and water occasionally to remove dirt and debris.
– Avoid using harsh chemicals or abrasive cleaners, as they can damage the surface.
– Regularly inspect for any fasteners or clips that may need tightening.
Conclusion
Installing WPC decking is a straightforward process that can transform your outdoor area with minimal maintenance and maximum durability. With its weather resistance, realistic wood appearance, and easy installation, WPC decking is a fantastic choice for creating a long-lasting, beautiful deck. Follow these steps carefully, and you’ll have a professional-looking deck that you can enjoy for years to come!